Showing posts with label #How to. Show all posts

18 Nov 2015

HOW TO - Top Coat Verniz Gel Matte Purple Professional

Hello lovelies! How are you today?
After a lot of questions about how to use the Purple Professional Matte Gel Top Coat I am giving you here a quick step by step. 

Hello gente!!
Após publicar esta foto recebi imensos pedidos de passo a passo e pedidos para explicar como funciona este top coat matte versão verniz gel. Aqui fica o passo a passo, super simples!
This was the original picture that raised a lot of questions!
Esta foi a foto Original que levou a imensas dúvidas !


Step-by-Step Matte Top Coat


1- Paint the nails with Purple Professional Gel Polish (2-way -color - 2way)
2- Clean the sticky coat with Purple Professional Cleanser.

3- Apply Purple Professional Matte Power
4- Cure for 30s to 60's in LED lamp or 2mins in UV Lamp.
5- Remove the Sticky Coat with Purple Professional Cleanser.
Done =D 


Passo-a-passo da aplicação do top coat matte Purple Professional Matte-Power 
1- Pintar as unhas normalmente com o verniz gel Purple Professional ( 2way - cor -2way)
2- Remover a goma com o Cleanser Purple Professional.
3- Aplicar uma fina camada do Matte Power da Purple Professional.
4- Curar durante 30'' a 60'' segundos no forno LED ou 2mins em UV.
5- Remover a camada final de goma com o Cleanser Purple Professional.
Feito.

Notes/Notas
Quando removem a unha do forno, antes de retirar a goma do Matte Power a unha estará completamente brilhante. Após limpar a goma, o acabamento estará totalmente matte!
The nail should be shinny when you remove it from the LED/UV Lamp, before cleansing. After Cleansing you should have the final matte finish effect!


Podes ver aqui todos os posts com produtos Purple Professional


PURPLE PROFESSIONAL INFO
Purple Professional Blog Tag
 Facebook
 Website
Twitter
Pinterest
Google+
Instagram
Youtube


23 Feb 2014

Orly Smart Gels - How Apply - Guide To Gel Nails at Home

PRESS SAMPLE


A couple weeks ago Orly Portugal sent me an Orly Smart Gel Starters Kit. I have shown you its contents here and this past Valentines day I have used it for a "hearty" manicure here


Há algumas semanas, a Orly Portugal enviou-me um kit de teste da linha de Unhas de Gel em casa da marca. A linha Smart Gels da Orly é a linha não profissional, na gama de verniz gel da marca. Para profissionais a marca disponibiliza a linha Orly Glam FX. 
Já vos mostrei o conteúdo do Kit aqui e uma manicure de são valentim com este verniz aqui.


Orly Smart Gels - Crawfords Red


*brand info by the end of the post*


12 Jan 2014

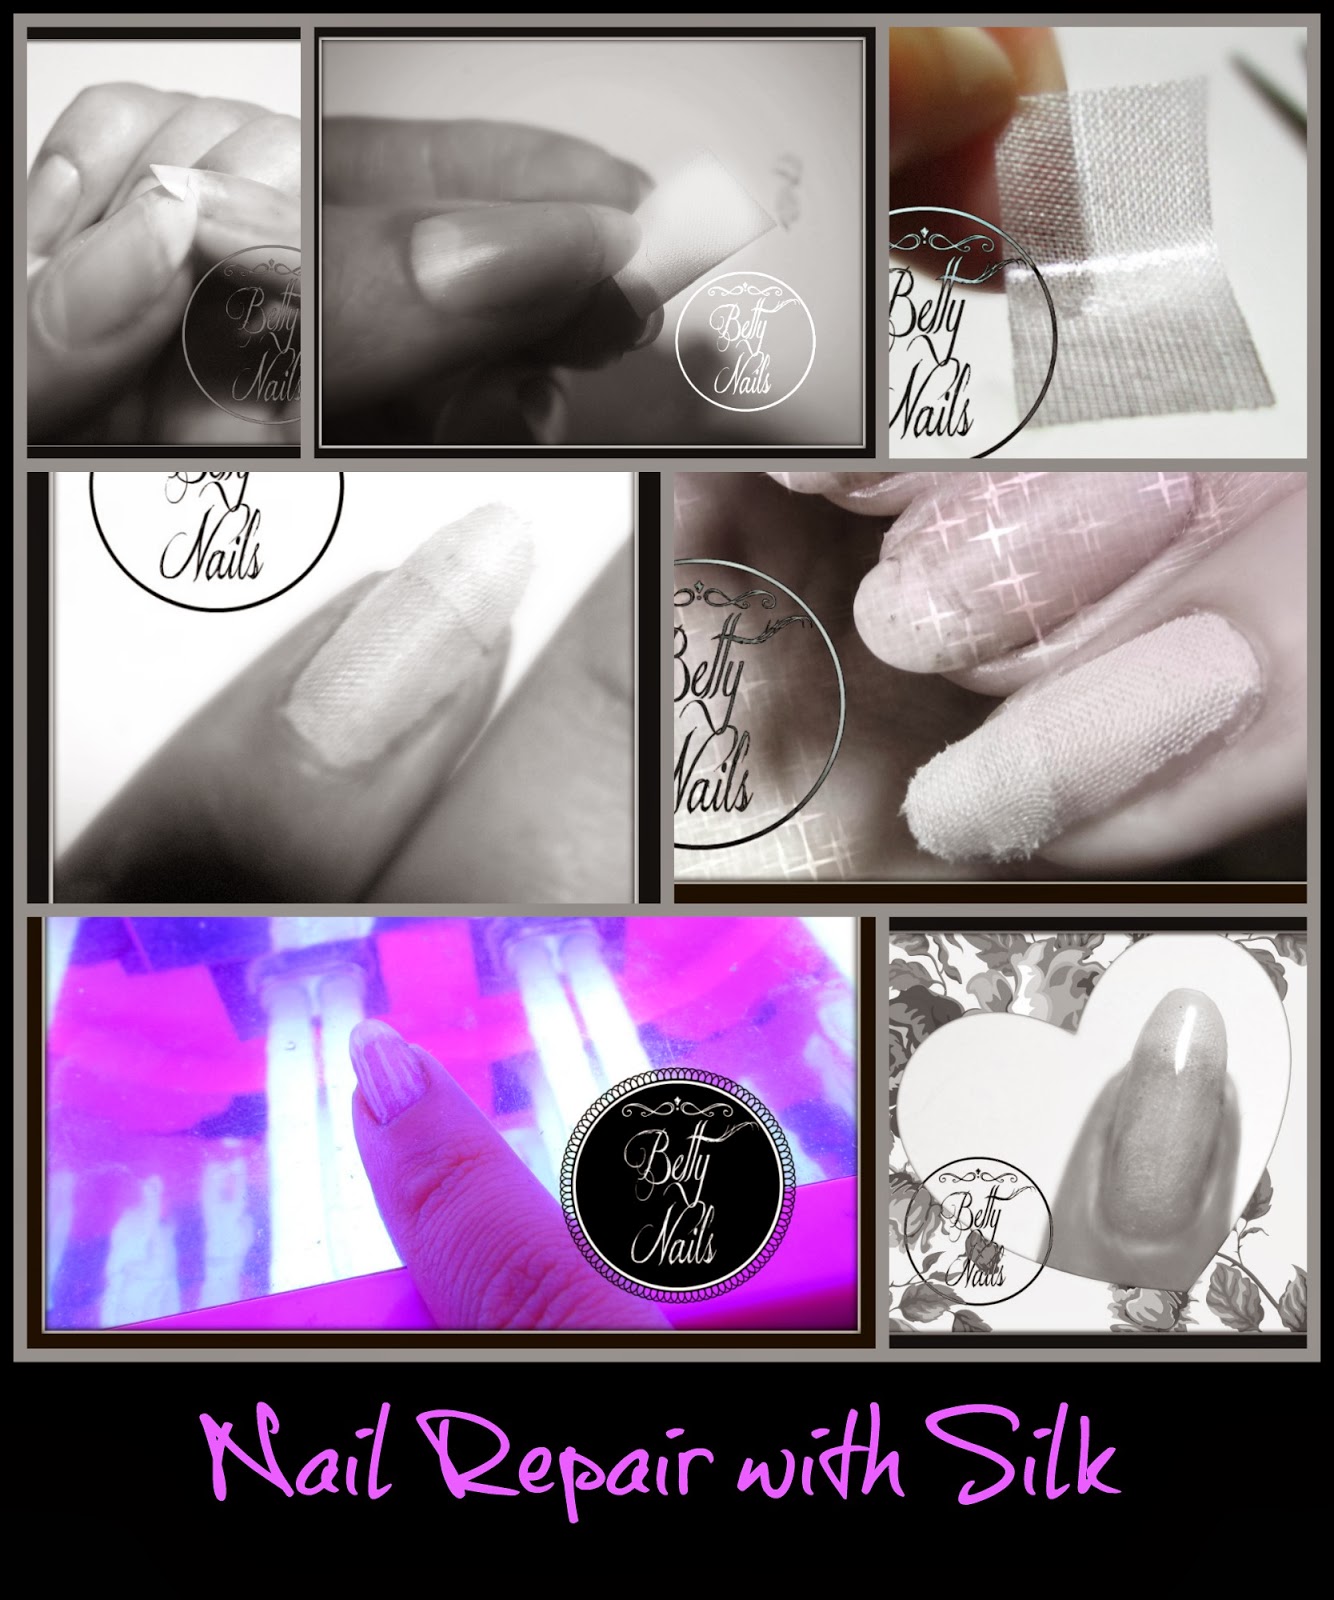
Nail Repair - Silk and Gel Polish

Hello Ladies! As you know I have several issues with broken nails and I'm always looking for the best way to fix them without cutting them all short each time I break one. This was my last attempt.
Silk Nail Wraps! Lets see the how to!

Olá!!  Quem costuma ler aqui o cantinho sabe que um dos problemas mais recurrentes por aqui são unha partinhas! Ando sempre à procura da maneira mais eficaz de salvar a unha sem ter que as cortar todas. Esta foi a minha última experiencia. Adesivos de seda. Vamos ver como fiz!


22 Jul 2013

Mollon UV Gel Polish HOW TO update!

Evening People

A quick afternoon post to let you know that I've updated the Mollon Hybrid Shine UV Color Guide and How To with this picture!!
Um post rápido para vos dizer que adicionei esta montagem ao Guia de Cores da Mollon + Como fazer AQUI.


5 Jul 2013

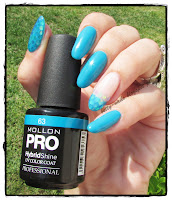
Mollon PRO Hybrid Shine UV - Color Guide and How to

Mollon Hybrid Shine UV Color 


Color Guide
[This color guide will be updated with pictures to each color linked to their review post!]


'Coleur de La Mode Pastel 2013'


'Coleur de La Mode Summer 2013'


Materials/Materiais


UV base coat - UV Top Coat - Cuticle Oil

 In order of use: Dehydrator  - Finish Clear (to remove tacky layer) - UV Remover

16 Nov 2011

Rose Garden Tutorial ! ! !

 Hy!!
 Tutorial day!!
As so many girls ask me to do  one whe I showed purple roses ( here )I made one with red roses =D


Olá!! Dia de tutorial !!
Várias meninas pediram um tutorial sobre como fazer rosinhas nas unhas quando eu mostrei ( aqui ).
Fiz um tutorial de rosinhas vermelhas! Espero que gostem!


Lets start the tutorial.
We will start first on a piece of paper and then in a nail, ok?


Vamos começar o tutorial. 
Primeiro vamos ver numa folhinha e depois na unha, ok?


Vamos precisar de vernizes: Branco, Vários tons de Vermelho (ou outra cor para as rosas)
 e uma cor base ( se não quiserem usar o branco).

We will need several nail polish colors. A white and 2-3 tons of the color you want for the roses and a base color if you dont want to use white.


Precisamos também de um boleador para fazer as rosas.
We will also need a dotting tool to make the roses. 


 Agora precisamos fazer semi circulos ou espirais com os tons de vermelho.
Now we need to do swirls with the different shades of red.


As you can see, different ways of making swirls will make different shapes of rose.
Como podem ver, espirais diferentes fazem rosas com formatos e cores diferentes.


Now! In the nail !
Agora, na unha !


 Pintar a unha com a cor base, branco ou outra qualquer que faça contraste com a cor das rosas.
Pain the nail with the base color you want, either white or other color that makes a good contrast.


Constrói as rosas fazendo várias espirais com os diferentes tons de vermelho sucessivas e sobrepostas sem deixar o verniz secar.
Build up the roses by making several concentrical swirls with the several shades of red, before the polish dries.


Já tem bom aspecto certo? O último passo é garantir que o centro tem uma pequena espiral branca.
Its looking good right? The last step is making sure that the center has a smal swirl of white polish.


Now, after making the last small white swirl in the center, draw some leaves with a glitter polish.
Agora, após fazer a espiral central, a branco, falta fazer as folhas. Podem usar um glitter que gostem e combine com o resto do desenho.


 Hope you enjoyed today's post! 
I want see when you try this! =D

Espero que tenham gostado! 
Quero ver fotos quando tentarem! ! =D


See you soon*
 Kiss* 


Até breve, 
Beijinho*