Hi girls!!
Today I'm showing an adventure in marbling!
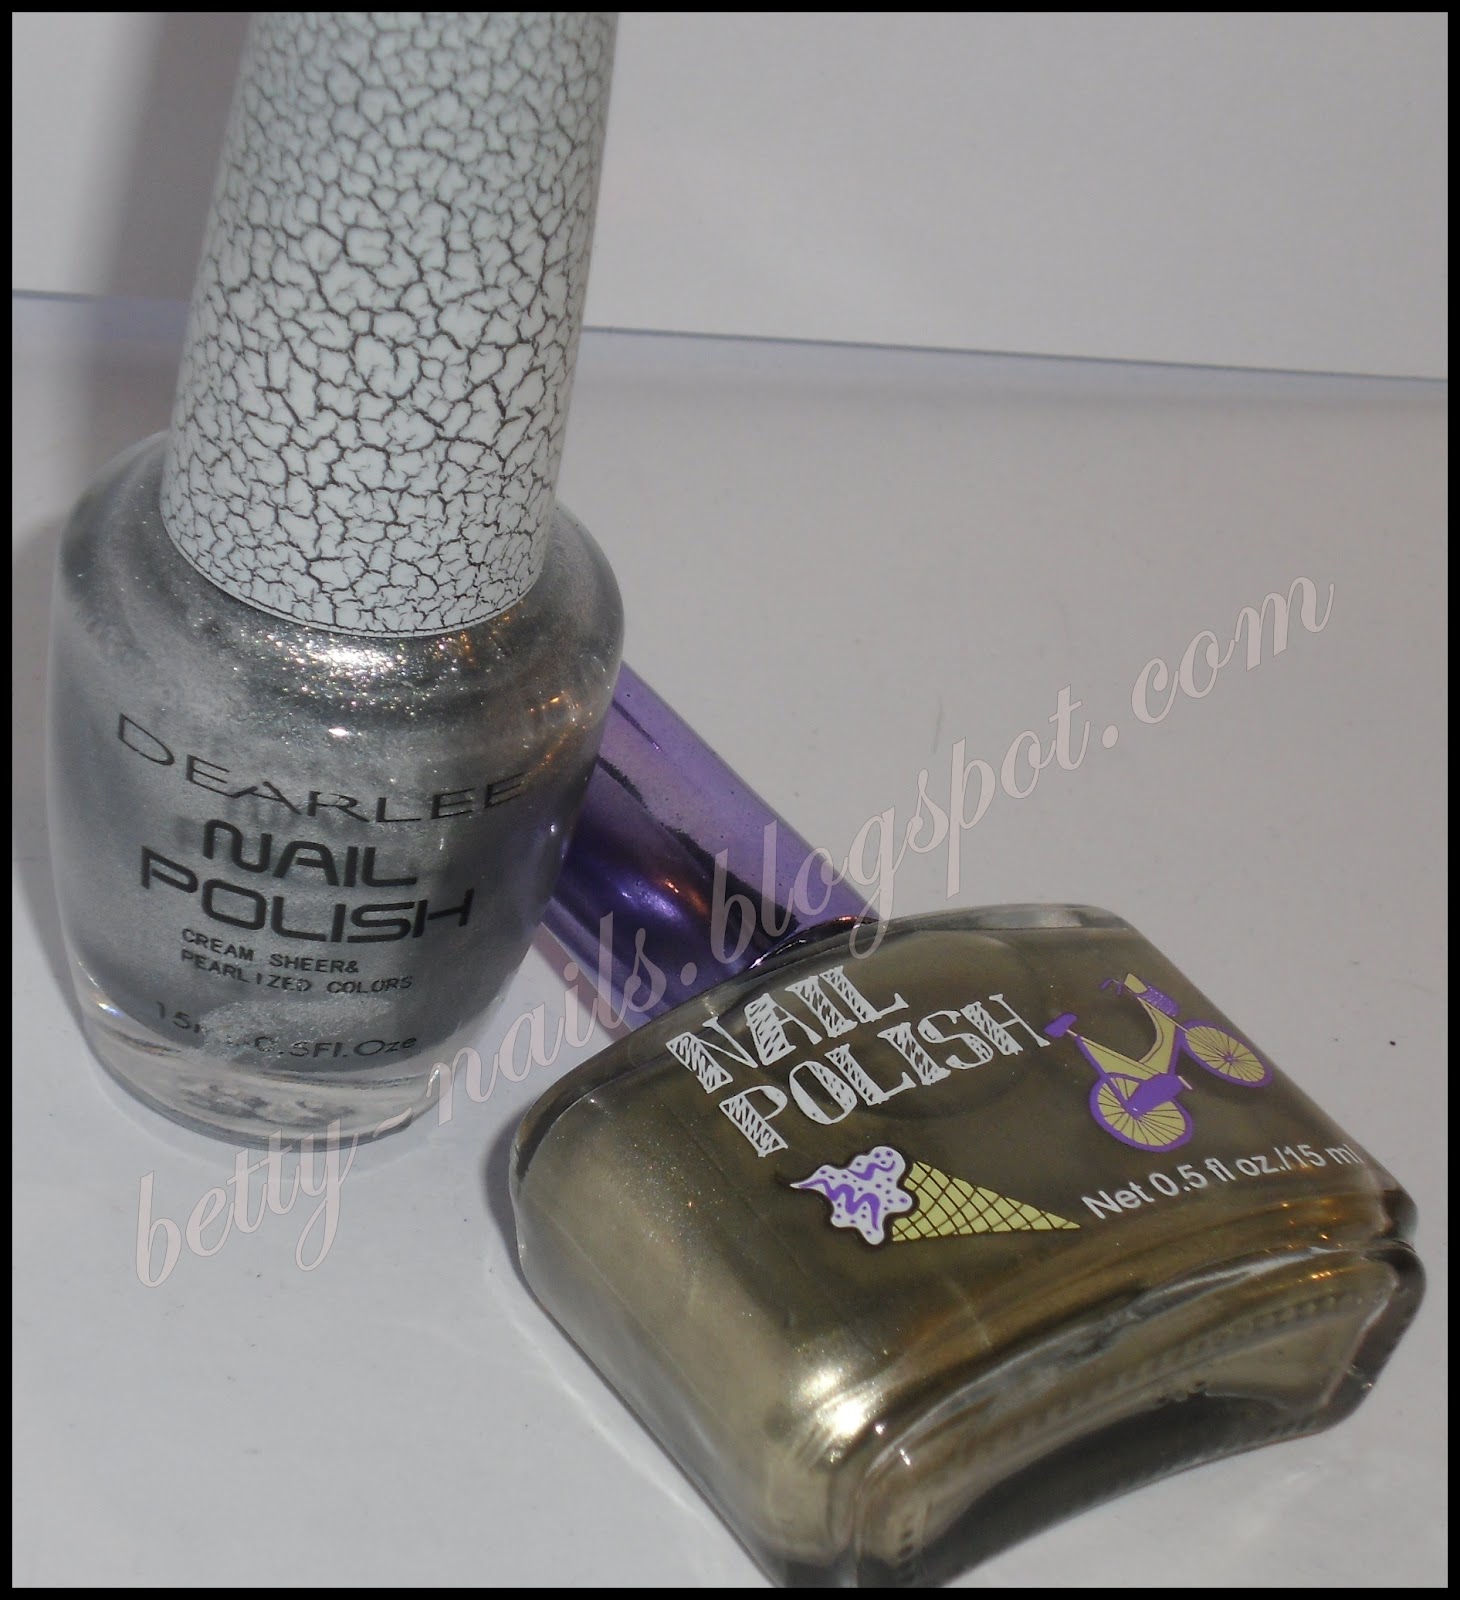
So the polishes I used for marbling were this two and a Black from Miyo I totaly forgot to include in the picture! Sorry baby! LOL
Olá meninas!
Hoje vou-vos mostrar uma aventura no mundo dos marmoreados!
Usei estes dois meninos abaixo mais um Miyo preto que me esqueci de juntar à foto ( sorry baby!!)!
Gold: Moon Shine - H&M
Silver: Dearlee n61
Black: Miyo nº4 - INK
I did this marbling in an unconventional way. I filled a bowl with whater and started dipping the polishes one after another in circles and then with a marbling tool I swirled it until it had the effect I wanted it too.
Fiz este marmoreado numa maneira menos tradicional. Após encher uma taça com água procedi de maneira normal. Um verniz após o outro em circulos concêntricos. No fim, usei um mamoreador até obter o efeito desejado.
*
Now here comes the different part!
Usually, in conventional marbling we dip the finger, one by one in the water, right?
As you may have noticed by now I'm super into saving nail polish! LOL
So what did I do?
I let it sit for a couple hours until the nail polish was totally dry! 2-3h is enough.
Agora a parte diferente!
Normalmente mergulha-se a unha nesta mistura, repete-se o procedimento e mergulha-se a outra unha e assim sucessivamente, certo?
Como muitas de vocês já repararam, no que toca a verniz eu sou bastante poupadinha ( é um líquido precioso!).
Então que fiz eu?
Deixei a mistura marmoreada assentar na taça e secar. Cerca de 2h-3h são suficientes.
*
Then ( VERY <- ) carefully I took it all out in one piece an placed it on top of absorbent paper and let it dry for another couple hours.
After it was totally dry I cut it into pieces big enough to cover my nails and voila... Its like home made stickers.
Depois, MUITO cuidadosamente retirei a pelicula seca de verniz, tentando não a destruir ou despedaçar e coloquei em cima de papel absorvente para que secasse.. mais umas 2h.
Depois de estar totalmente seco recortei-a em pedacinhos mais ou menos do tamanho da unha. E pronto.. o aspecto final foi semelhante a autocolantes caseiros.
Next step: Usual manicure, Base coat(s), Polish ( use one coat of one of the nail polishes from the mixture. I went with Moon Shine (H&M).
One nail at a time, after one coat of the base color nail polish and with the help of the nail art tweezers I placed gently one piece of marbled sticker into the nail and pressed it gently. It will stick to the polish quite easily and the excess with come out with a bit of gentle buffing.
Próximo passo: Fazer a manicure usual, a(s) Base Coat e o verniz cor base ( eu aconselho a usar uma das cores da mistura. Neste caso usei o dourado Moon Shine - H&M).
Uma unha de cada vez, aplica-se uma fina camada de cor base e com cuidado e a ajuda de uma pinça ( é opcional) coloca-se o 'adesivo' em cima da unha pressionando gentilmente até total adesão à unha. Caso experimentem vão verificar que adere à unha bastante fácilmente. O excesso sai bastante bem com uma limadela, aconselho o uso de uma lima suave.
Then its time for top coat! Voilá its done!!
No fim é só aplicar top coat.
I then applied a couple of holo extras:
Apliquei ainda duas camadas extra de holo:
Hope you enjoyed today's post !
Any Questions Please let me know to blog.bettynails@gmail.com.
See you soon,
Kiss*
Espero que tenham gostado !
Qualquer dúvida enviem o email para blog.bettynails@gmail.com.
Até breve,
Beijinho*